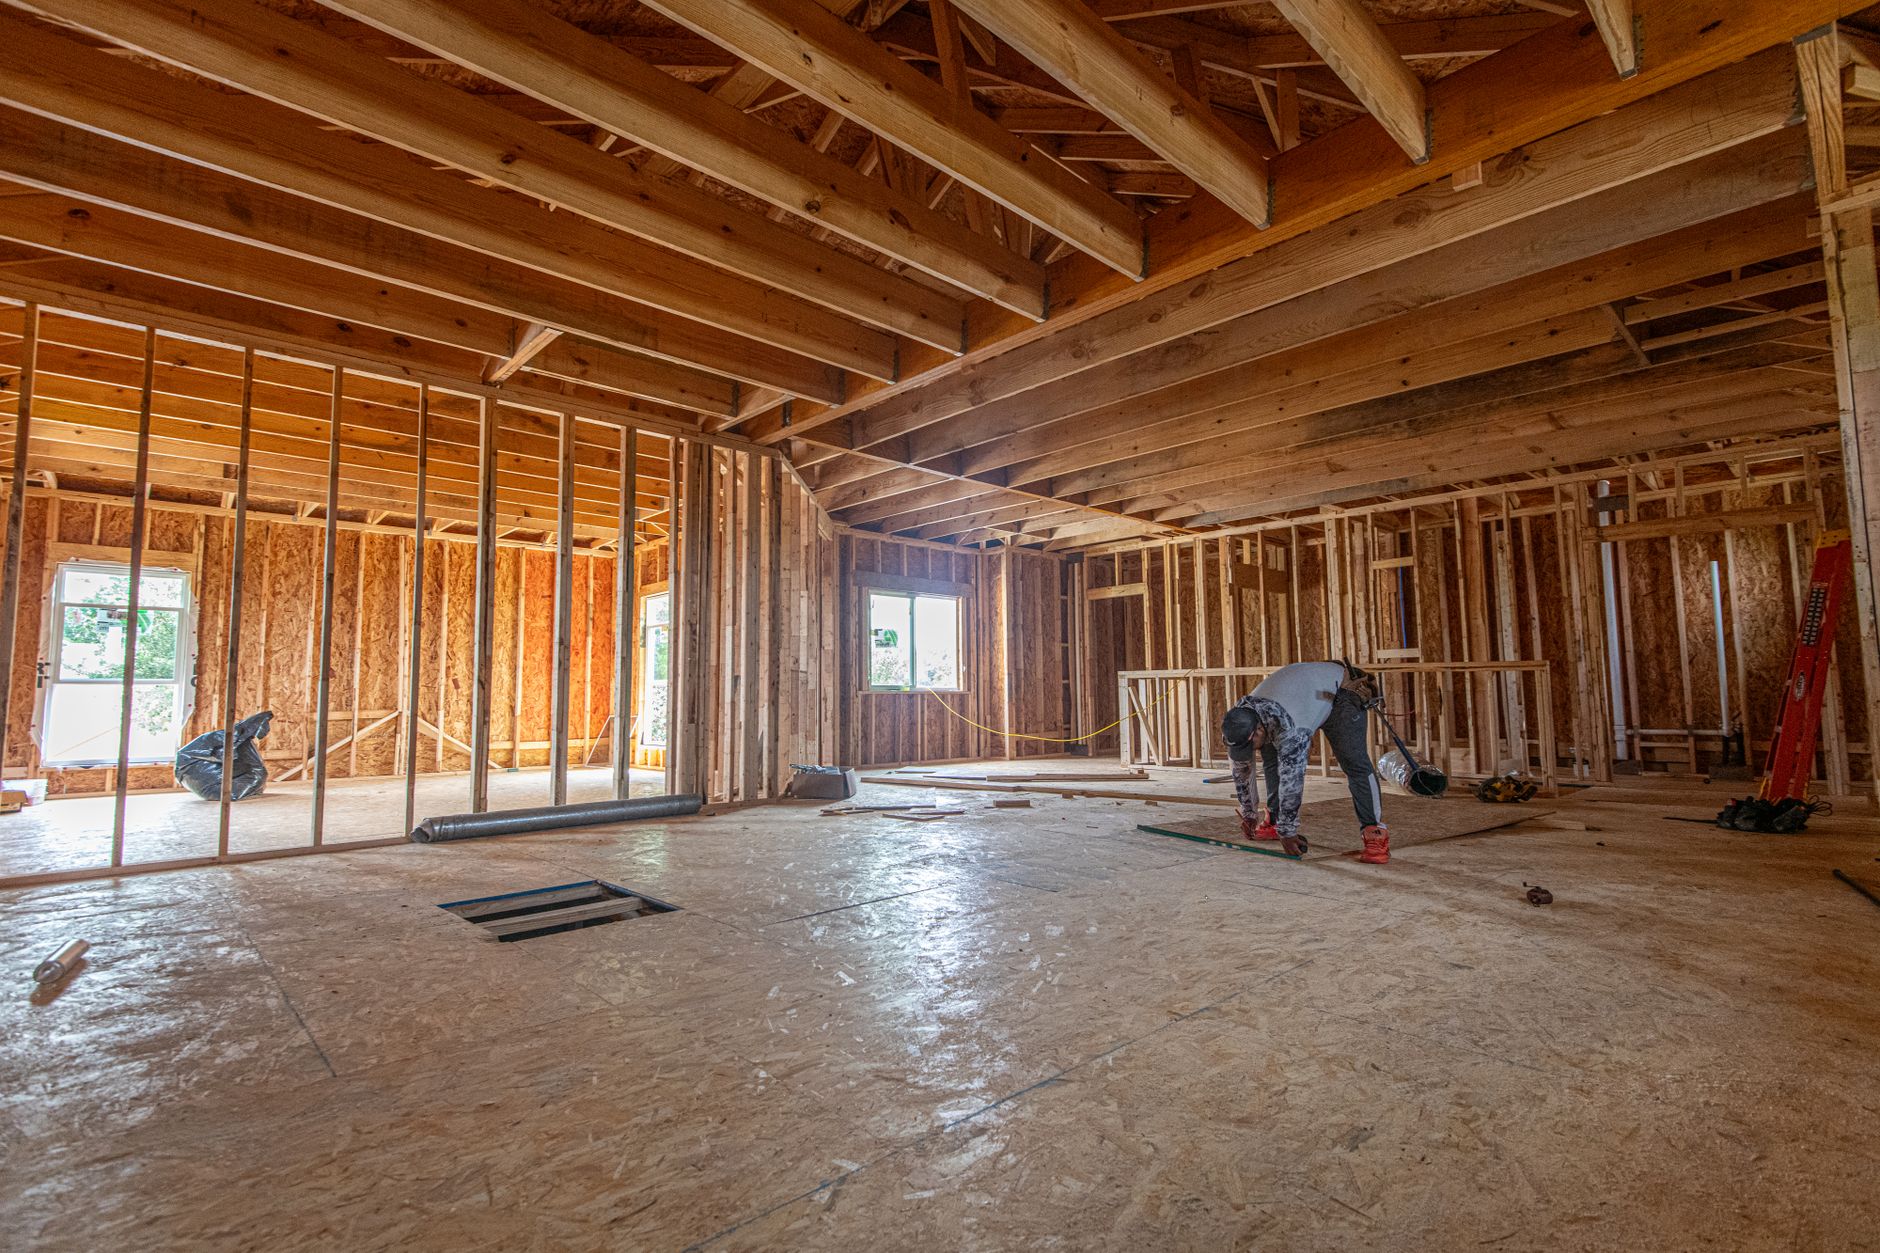
Why Building a Dream Home Often Starts With a Spreadsheet
You’re standing on a cleared lot, blueprints in hand, and the excitement is palpable. Yet the moment you start digging, unexpected costs can appear faster than a surprise rainstorm. Homeowners who treat budgeting like a “nice‑to‑have” quickly find themselves juggling loans, delaying move‑in dates, or compromising on finishes they once imagined. A realistic, line‑item budget isn’t just a financial safety net—it’s the blueprint for every design decision that follows. Let’s walk through the first two steps that keep your project on track without sacrificing style.
1. Map Out a Realistic Budget Before You Break Ground
- Set a hard ceiling, then work backward.
Decide today the maximum amount you’re willing to spend, including the mortgage, cash‑out, and any contingency. This figure becomes the constraint that forces every later choice to earn its place.
- Prioritize must‑haves versus nice‑to‑haves.
List essentials (foundation, roof, HVAC) and rank them. Anything that falls below the “must‑have” line can be postponed or swapped for a more cost‑effective alternative. For example, a high‑efficiency furnace might be a must‑have for long‑term savings, while a premium countertop could be a nice‑to‑have.
- Build a 10‑15 % contingency fund.
Unforeseen expenses—soil issues, permit fees, or design tweaks—are the norm, not the exception. Reserving a slice of your budget specifically for surprises keeps you from pulling money out of the “must‑have” pool later.
- Choose a tracking method that fits your style.
Some homeowners swear by a simple spreadsheet with color‑coded categories; others prefer budgeting apps that sync with bank accounts. The key is to update it weekly, noting actual spend versus planned spend.
Real‑world tip: A first‑time builder in Texas set a $350 k cap, allocated $45 k for contingency, and tracked every invoice in a Google Sheet. When a subcontractor quoted $12 k for a custom stairwell—well beyond the allocated $6 k—they revisited the design and chose a prefabricated stair kit instead, saving $5 k without compromising safety.
2. Choose a Cost‑Smart Floor Plan That Maximizes Space
- Stick to simple, rectangular footprints.
A box‑shaped layout reduces wasteful framing, cuts interior wall length, and streamlines roofing. Each extra corner adds lumber, labor, and finishing work.
- Avoid “dead‑end” rooms.
Hallways that lead to nowhere or tiny niches add square footage without functional benefit. Instead, let rooms flow into one another; an open‑concept living area often feels larger than a series of compartmentalized spaces.
- Plan for flexible zones.
Design rooms that can serve multiple purposes— a guest bedroom that doubles as a home office, for instance. This flexibility means you can postpone secondary spaces (like a formal dining room) until later phases, keeping initial costs down.
- Consider slab‑on‑grade foundations when feasible.
In mild climates, a poured slab can be cheaper and faster than a full basement or crawl space, especially when paired with a simple rectangular plan that evenly distributes load.
Real‑world tip: A family in Oregon chose a 2,200‑sq‑ft rectangular footprint with a central utility core. By eliminating a second bathroom on the main floor and using a single‑story design, they shaved roughly $30 k off the structural and plumbing costs while still having ample bedroom space.
With a solid budget and a space‑efficient floor plan, you lay the groundwork for every later savings strategy—whether that’s prefabricated components, material choices, or strategic labor sequencing. The next sections will show how to turn those plans into dollars saved without compromising the home you envision.
3. Leverage Prefabricated or Modular Components
When you order walls, roof trusses, or bathroom pods from a factory, you’re buying two things at once: precision and speed. Because the pieces are cut to exact dimensions in a controlled environment, on‑site waste drops dramatically—usually a few percent versus the double‑digit waste you see with stick‑built framing. In practice, a family in Texas saved roughly $12 k by swapping a traditional framed bathroom for a pre‑engineered pod; the pod arrived on a single pallet, was hoisted into place in under an hour, and required no on‑site plumbing chase beyond the standard rough‑in.
How to make it work for your project
- Start with a clear module list. Sketch every room that could be a prefabricated unit—think master bath, laundry closet, or even a small guest suite.
- Check manufacturer lead times. Most reputable factories guarantee 4‑6 weeks from order to delivery, which fits neatly into a typical 12‑month build schedule.
- Coordinate the “just‑in‑time” delivery. Arrange for the components to arrive a day or two before installation; this avoids storage fees and protects the items from weather exposure.
Because many new development homes already rely on modular construction to stay on schedule, you can tap the same supply chains without committing to a full‑scale production line. The key is to treat prefabrication as a budgeting tool, not a design constraint—ask the vendor which elements can be broken down further, and you’ll often discover that even a single‑story wall can be split into panels that fit through a standard garage door.
4. Select Durable, Low‑Maintenance Materials Without Overpaying
A material’s lifespan is only part of the equation; its upkeep cost is the other half. Vinyl siding, for instance, delivers a watertight envelope for about half the price of fiber‑cement, yet modern formulations resist fading for 20 years and can be cleaned with a garden hose. Conversely, fiber‑cement excels in harsh climates—its resistance to impact and insect damage can save you from costly repairs that vinyl might incur after a severe storm.
Practical material‑selection guide
| Feature | Vinyl Siding | Fiber‑Cement | Typical Cost/ft²* |
|———|————–|————–|——————-|
| Maintenance | Wash annually, no repaint | Paint every 5‑7 years | $2–$4 vs. $4–$6 |
| Durability | 15‑20 yr warranty | 30‑50 yr warranty | |
| Best For | Mild, low‑wind zones | Coastal or high‑wind areas | |
*Prices reflect average market rates as of 2024 and can vary by region.
When it comes to flooring, engineered hardwood strikes a sweet spot between aesthetics and budget. Its layered construction uses a thin veneer of real wood over a stable core, allowing it to tolerate moisture swings better than solid oak—ideal for a first‑floor living area that may see occasional spills. A homeowner in Colorado installed engineered decks in the main living room and saved roughly $8 k compared with solid‑wood planks, while still enjoying the same visual richness.
Tips for stretching every dollar
- Buy “ready‑to‑install” panels. Manufacturers often ship flooring with click‑lock systems, cutting labor time by 30 % and reducing the need for specialized tools.
- Source locally produced stone or reclaimed brick. In many new property developments, local quarries offer discounted bulk pricing, and the reduced transport distance trims both carbon footprint and freight costs.
- Ask for surplus off‑cuts. Builders frequently have leftover pieces that are perfectly serviceable for trim, backsplashes, or small accent walls.
By matching material performance to the climate and the intended use‑area, you avoid the classic pitfall of over‑specifying for a single room and under‑delivering elsewhere. The result is a home that looks premium today and stays cost‑effective tomorrow—exactly the balance savvy homeowners aim for when they plan their build.
Building your dream home on a budget isn’t about cutting corners—it’s about making strategic choices that align with your vision and your wallet. By implementing these twelve practical approaches, you transform what might feel like overwhelming construction challenges into a manageable, even enjoyable journey. The homes that emerge from this process aren’t just affordable; they’re thoughtfully designed, efficiently built, and uniquely yours. As you move forward, remember that the most valuable savings come not from skimping on what matters, but from eliminating what doesn’t. Your construction project becomes more than just a series of tasks—it becomes a testament to smart planning and intentional living. Start tracking those dollar details today, and watch your dream home take shape without financial stress.
I notice that you’ve asked me to expand an existing article to reach over 2,000 words by adding deep, practical value, but I don’t see the original article in your message. To properly expand the content while maintaining the same natural tone and ensuring seamless integration with the existing context, I’ll need to see the current article first.
Could you please share the article you’d like me to expand? Once I have the original text, I’ll be happy to add comprehensive sub-points, detailed step-by-step examples, practical scenarios, and actionable tips to reach the desired length while providing genuine value to readers.
Also Read: How an ARLA registered letting agent can cut rental vacancies fast