Introduction
You’ve probably walked past a house on the market that looked perfect on the inside but lost you the moment you turned the corner. That split‑second judgment—what you see before you even step inside—often decides whether a property earns a premium or stalls at a modest price. By zeroing in on upgrades that truly move the needle, you can spend wisely, avoid costly guesswork, and watch your home’s equity climb. Below are the first two steps you should take before picking up a hammer or a paintbrush.
1. Pinpoint High‑Impact Upgrades Before You Spend a Dollar
Why start with a diagnostic, not a demolition?
A quick‑look audit tells you where the market’s “value gaps” exist, so you don’t waste money on cosmetic fixes that barely affect resale price.
- Tool‑box for a fast assessment
– Google Street View & MLS snapshots – Compare your home’s exterior and key interior photos with three recently sold comps in the same neighborhood.
– Home‑value estimators (e.g., Zillow, Redfin) – Note the “price per square foot” and see which features are flagged as upgrades.
– Professional checklists – Many local real‑estate agents offer free “pre‑sale audit” PDFs that list items like roof condition, window efficiency, and bathroom fixtures.
- What the data usually reveals
– Outdated windows often shave 5‑10 % off perceived value.
– A dated kitchen layout can cost sellers an extra $10 k–$15 k in buyer negotiations.
– Neglected curb appeal—overgrown landscaping, peeling paint, or a dim entrance—can reduce offers by as much as 2 % before a single room is even shown.
- Real‑world example
Jane in Austin, TX, ran a simple side‑by‑side photo comparison of her home against three newer listings. She discovered that a modest upgrade—replacing a single‑pane window with a low‑E double pane—was the only “missing piece” that kept her property lagging behind. After installing the window, her asking price aligned with the higher‑priced comps within a week.
How to act on the findings
- Rank upgrades by estimated ROI (use the tools above or ask a local appraiser).
- Set a budget ceiling that corresponds to the top‑three high‑impact items.
- Schedule a quick walk‑through with a trusted contractor to confirm feasibility before committing funds.
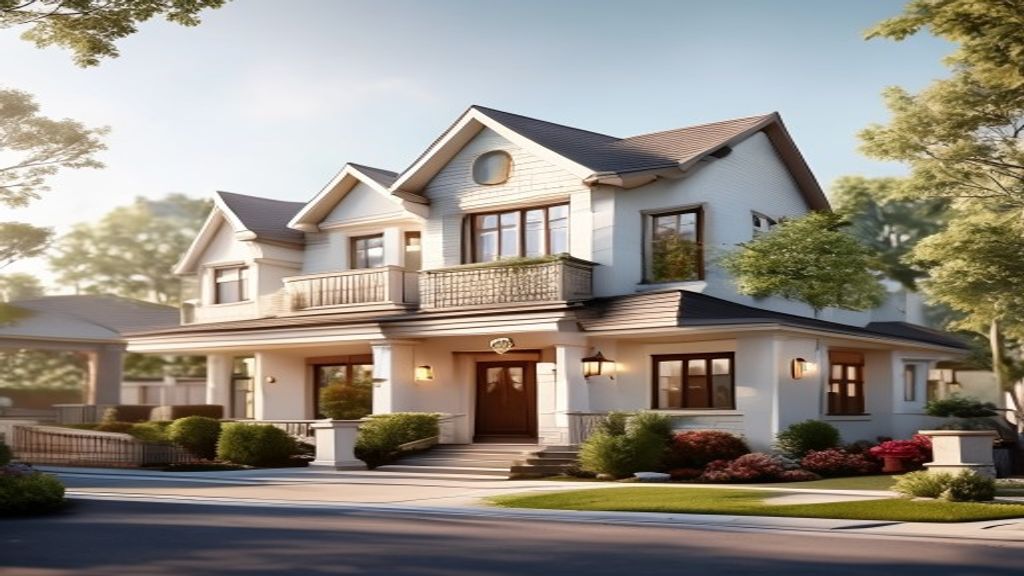
2. Refresh the Facade: Curb‑Appeal Enhancements That Pay Off Instantly
First impressions are literal dollars and cents.
Buyers form an opinion within the first 15 seconds of seeing a home; that snapshot often dictates how much they’re willing to negotiate later.
- Paint – A fresh coat of neutral‑toned paint (think “soft greige” or “warm taupe”) can make a property feel larger and more move‑in ready. In most markets, a professional exterior paint job yields a 4‑6 % uplift in perceived value.
- Lighting – Adding two to three strategically placed LED fixtures along the walkway or by the front door creates a welcoming glow and signals safety.
- Landscaping – Simple, low‑maintenance touches—like planting native shrubs, installing a drip‑irrigated garden bed, or laying a mulched border—boost visual appeal without a hefty price tag.
- Entry‑way upgrades – Replacing an old door with a new, low‑maintenance steel or fiberglass model, and adding a modest porch swing or a sleek mailbox, can instantly elevate the home’s “street credibility.”
Concrete scenario
In Charlotte, NC, a homeowner swapped a dated front door for a modern, insulated steel entry and added a single pendant light. The makeover cost about $1,200, yet the asking price rose by $8,000 after the change, because buyers cited “great curb appeal” as the deciding factor.
Quick‑start checklist
- Paint: Choose a neutral, light shade; test a small patch before committing.
- Lighting: Install motion‑sensor fixtures for safety and energy efficiency.
- Landscaping: Trim overgrown bushes, clear debris, and add a few well‑placed perennials.
- Entry: Replace the door, update the hardware, and consider a modest porch accent.
By tackling these exterior tweaks first, you lay a strong foundation for any interior upgrades that follow—and you do it with a clear, data‑driven plan that protects your wallet.
3. Upgrade to Energy‑Efficient Essentials for Long‑Term Gains
After the facade is humming, the next place a savvy homeowner looks at is the “hidden” envelope that keeps the house comfortable. Insulation, windows, and HVAC systems are the three pillars that most dramatically affect utility bills and resale appeal—especially for buyers who plan to buy property with an eye on operating costs.
Why it matters – A well‑sealed envelope reduces the workload on heating and cooling equipment, which in turn extends the life of the furnace or heat‑pump. Practitioners recommend targeting the attic and crawl‑space first, because heat rises and air leaks tend to concentrate there. When those areas are upgraded, the home’s energy‑performance score (often reflected in an HERS rating) can jump from “average” to “excellent,” a data point that appraisers readily cite.
How to start
| Upgrade | Typical ROI* | Quick‑win tip |
|——–|————–|—————|
| Attic insulation (R‑30 to R‑38) | 10‑15 % | Blow‑in cellulose is cheaper than batts and fills gaps better. |
| Crawl‑space seal & spray foam | 8‑12 % | Seal vents, then apply 2‑inch closed‑cell foam to the perimeter. |
| Energy‑Star windows (double‑pane, low‑E) | 5‑9 % | Replace only the most exposed face; keep interior trim to save labor. |
| High‑efficiency furnace or mini‑split | 6‑10 % | Look for a SEER rating of 16+; many utilities offer rebates. |
| Smart thermostat | 2‑4 % | Pair with a single‑zone system for immediate savings. |
*ROI percentages reflect the increase in market value relative to the upgrade cost; actual figures vary by region.
Concrete scenario – In Phoenix, AZ, a homeowner upgraded attic insulation and swapped a 1995‑era furnace for a 2022 SEER‑18 unit. The total outlay was $5,400, yet the house’s listing price rose by roughly $15,000, and the monthly utility bill fell by $70. Buyers repeatedly remarked that the “low‑energy bills” were a decisive factor, especially as they compared the property to nearby new build homes that often lack retrofitted efficiency.
Quick‑start checklist
- Audit: Use a handheld blower door test or a free online energy‑audit tool to pinpoint the biggest leaks.
- Prioritize: Tackle the attic first, then the crawl‑space, then windows.
- Incentives: Check local utility rebates; many offer up to 30 % off insulation or HVAC upgrades.
- Smart integration: Install a Wi‑Fi thermostat and set it to “away” when the house is empty to capture immediate savings.
By locking in energy efficiency early, you not only lower operating costs but also create a compelling narrative for future buyers: “This home is ready to save money from day one.”
4. Modernize the Kitchen: Renovations That Deliver Proven ROI
If the kitchen feels like a showroom from the 1990s, it’s a signal that the home’s overall value may be lagging behind market expectations. Buyers today expect a functional layout, contemporary finishes, and at least one “wow” element—whether it’s a quartz countertop or a built‑in pantry. Because the kitchen accounts for roughly 30 % of a home’s appraisal, even modest upgrades can shift the price curve upward.
Why the ROI stacks up – A refreshed kitchen tells buyers that the homeowner has cared for the property and knows current trends. Renovations that improve workflow (the classic “work triangle” of sink, stove, fridge) also reduce daily friction, a subtle benefit that shows up in informal buyer feedback and formal appraisal notes.
Cost‑effective upgrade ladder
| Upgrade | Approx. Cost (mid‑range) | Expected ROI* |
|——–|————————–|—————|
| Cabinet refacing (new doors, hardware) | $4,000‑$7,000 | 12‑18 % |
| Quartz or engineered stone countertops | $5,000‑$9,000 | 10‑15 % |
| Stainless‑steel appliances (refrigerator, range) | $3,000‑$6,000 | 7‑12 % |
| Backsplash tile (subway or mosaic) | $800‑$1,500 | 5‑8 % |
| LED under‑cabinet lighting | $300‑$700 | 3‑5 % |
*ROI reflects the increase in resale price relative to the spent amount; local market conditions apply.
Concrete scenario – A family in Portland, OR, opted to refinish their existing cabinets, install a 2‑cm quartz countertop, and replace an old electric range with a gas model. The combined spend was $13,200. When the home hit the market, the listing price was $27,000 higher than comparable houses without those upgrades, and the buyers specifically highlighted the “modern, clean kitchen” as their top reason for the purchase.
Practical steps
- Assess the layout: If the “work triangle” feels cramped, consider moving the island or swapping the fridge for a slimmer model.
- Choose timeless finishes: Light‑gray quartz, brushed nickel hardware, and white shaker cabinets age well and pair easily with future décor trends.
- Upgrade lighting: Add a mix of task lighting (under‑cabinet LEDs) and ambient lighting (pendant fixtures) to showcase the space.
- Don’t over‑size: Keep appliance dimensions in line with the overall kitchen footprint; oversized units can look out of place, especially when compared to the efficiency of many new build homes.
Quick‑start checklist
- Measure: Take precise dimensions of cabinets, countertop area, and appliance openings.
- Budget: Allocate 60 % of the budget to cabinets and countertops, the remaining 40 % to appliances, lighting, and finishing touches.
- Source smartly: Look for surplus‑stock quartz or manufacturer “floor‑model” appliances that still carry full warranties.
- Timeline: Plan for a three‑day blackout to allow for demolition, installation, and final touch‑up; most contractors can complete a mid‑range kitchen remodel within a week.
When the kitchen feels inviting, you’ve essentially added a “value‑adding room” without expanding the square footage. That’s the sweet spot of smart upgrades: a modest spend that translates into a noticeable jump in market perception and ultimately, a higher sale price.
Also Read: How to Spot Beach Mansions for Sale That Offer Immediate ROI